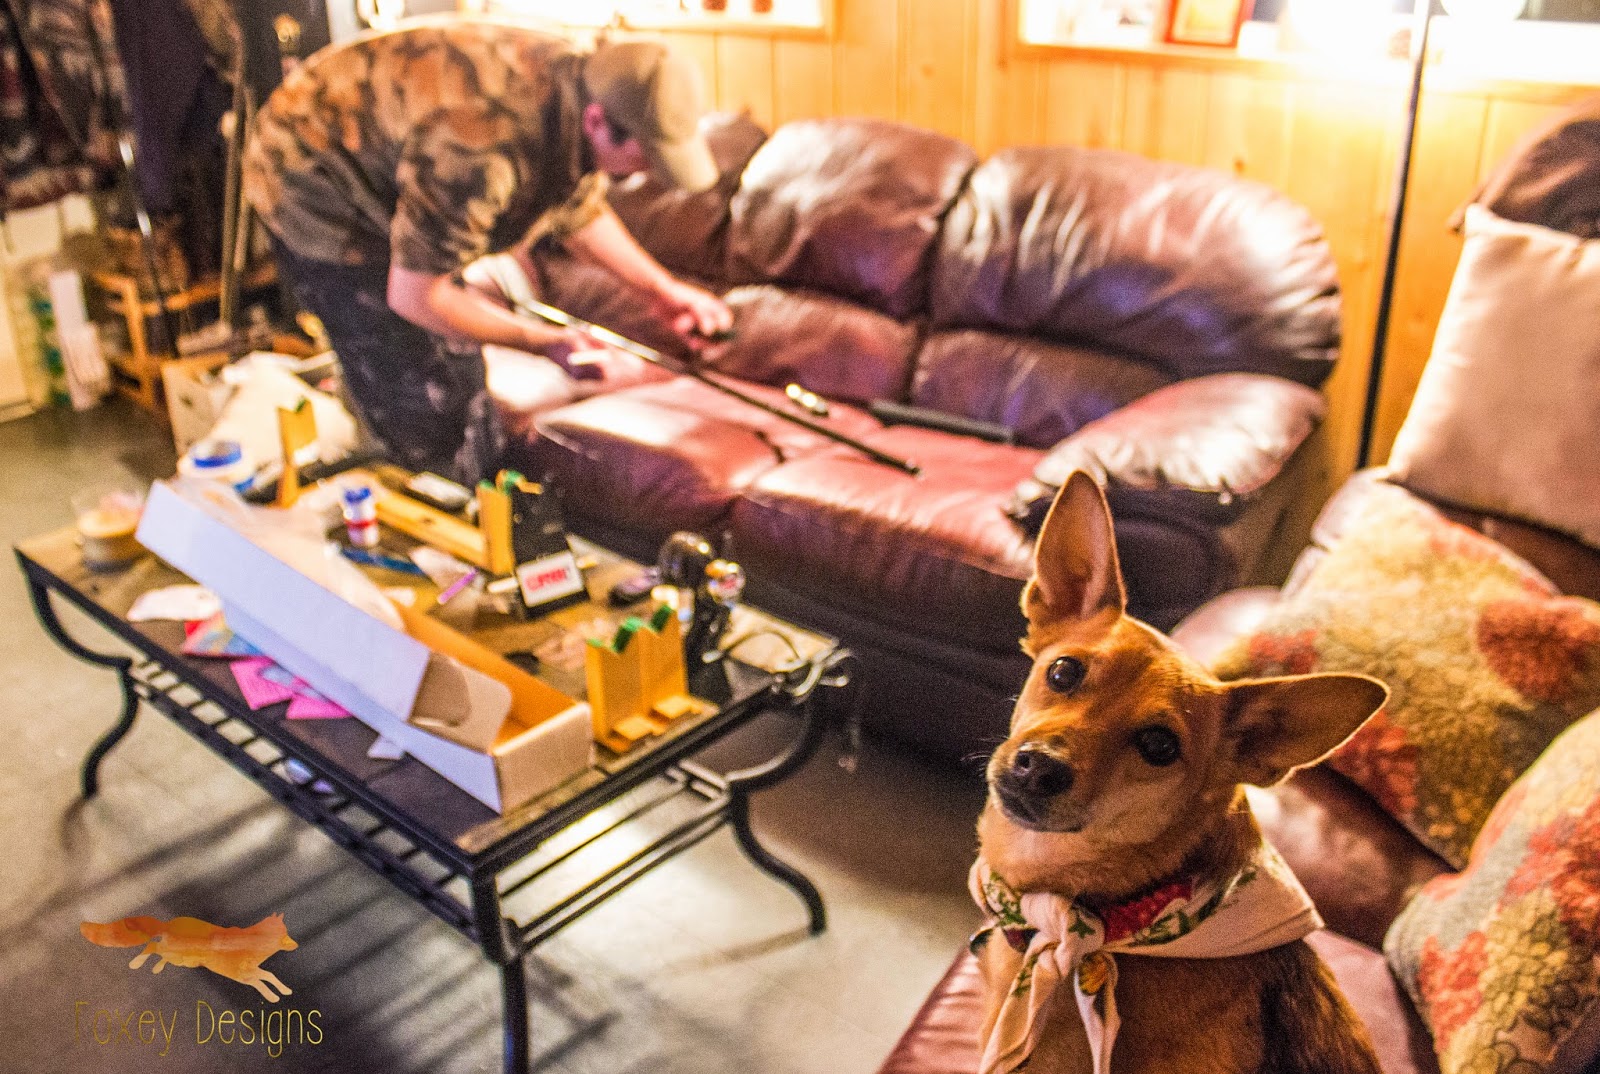
About a month ago, Will got the urge to build and wrap fishing rods as a gift for our dads. When I asked Will what inspired him to do this, he simply said, "Fish."
Will is a very outdoorsy guy, his idol is Jeremiah Johnson (I have seen/fell asleep to that movie quite a few times now). Will's motto: If its out, I'm in. He grew up hunting, fishing, back-packing, and camping with his family. That is one of the reasons he ended up in Bridgeport as an adult. Now, he is a fishing guide in the Bridgeport area. Will has always enjoyed going on any type of fishing trip from Bluegill to Blue Fin Tuna from float tube to 100 foot charter boat.
 |
| "Does this mean we get to go on a boat?" ~Foxey |
Back to the fishing rods. Will ordered two rod building kits online which included a rod blank, eyelets, handles, reel seat, and the tip top. Will bought the thread and epoxy separately. These rods are made for 15-30 lb line. Will says they are a utility rod.
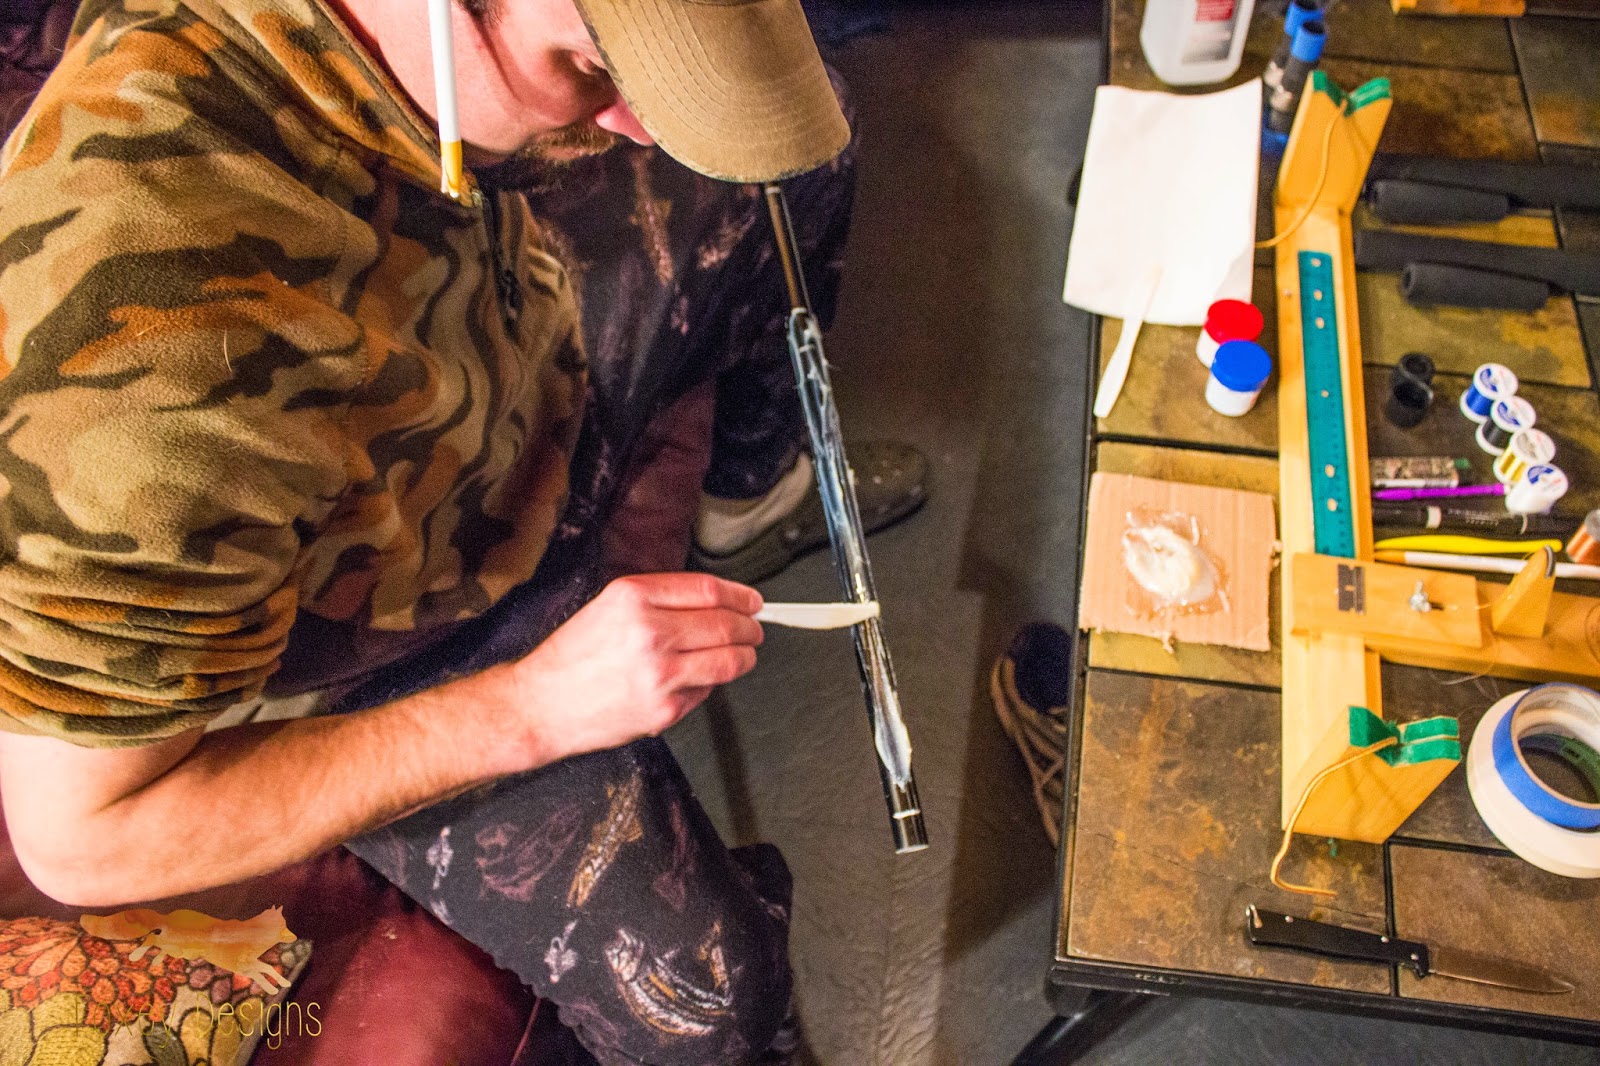 |
| Applying the epoxy for the lower handle. |
Will learned how to build fishing rods from his friend, Pete, the owner and operator of Just Fishing By Pete in Redondo Beach and picked up multiple other techniques from the internet. Will works at Ken's Sporting Goods in Bridgeport during the summer and that is where he met Pete. Pete comes up to Bridgeport to fish every year. The funny part is I grew up about 5 blocks from his shop, so when Will and I would head to Redondo to visit my family, Will always made sure to squeeze in a visit with Pete.
 |
| Measuring and marking where the eyelets should be placed. |
These are the steps Will took while building, wrapping, and completing these fishing rods. First, he found the spine of the blank by figuring out which way the rod wanted to bend naturally. Then he installed the handles and reel seat, and aligned them with the spine. Next, he put the tip top on making sure to align the tip top and the reel seat so he would have references on both sides of the rod to place the eyelets. After that, he measured down the rod, marking where the eyelets would be placed and laid the under wrap in those spots.
 |
| Placing an eyelet on the under wrap to be fixed to the rod. |
 |
| A finished eyelet. |
Then he wrapped the eyelets on with the thread. He had to preserve the thread with a color preservative.
Then he moved on to the diamond wrap which is a purely decorative touch. Hours of tedious wrapping ahead...
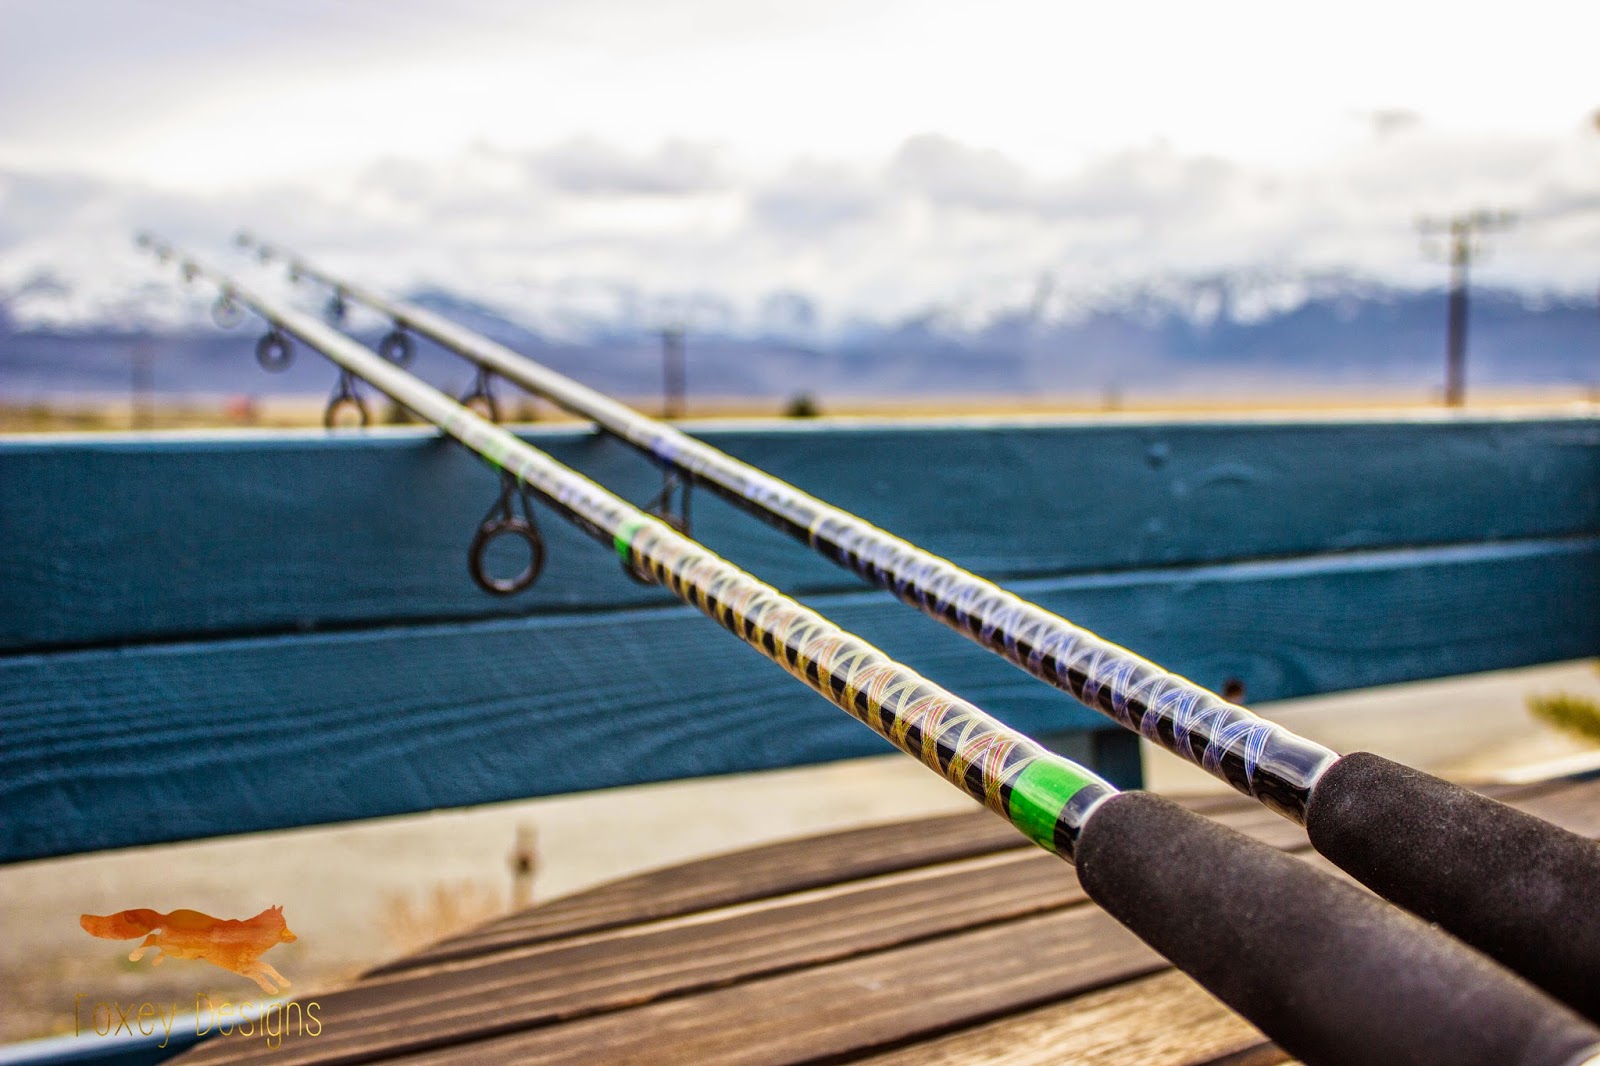
When he finished the diamond wrap, he applied the color preservative and let that dry. Then he used epoxy/rod finish to coat the thread. He did this multiple times, letting it dry overnight each time.
These rods still need a reel. Sorry dads, you're on your own with that.
Will says, "These rods are guaranteed to catch fish, when fished properly."
There you have it!


0 comments:
Post a Comment